Sunday, February 27, 2011

Sprinkle Time!


Not a Shower, but a Sprinkle.

When I started planning my sister-in-law’s Baby Sprinkle (not a Baby Shower) I was absolutely certain about two things:

I wanted it to be dessert themed!

And, I wanted to make a diaper cake!

The Theme:  Cupcakes!  Sweets and Treats!  Ladybugs and Pink!   Instead of going to into all the detail, I’ll let the pictures do the talking.
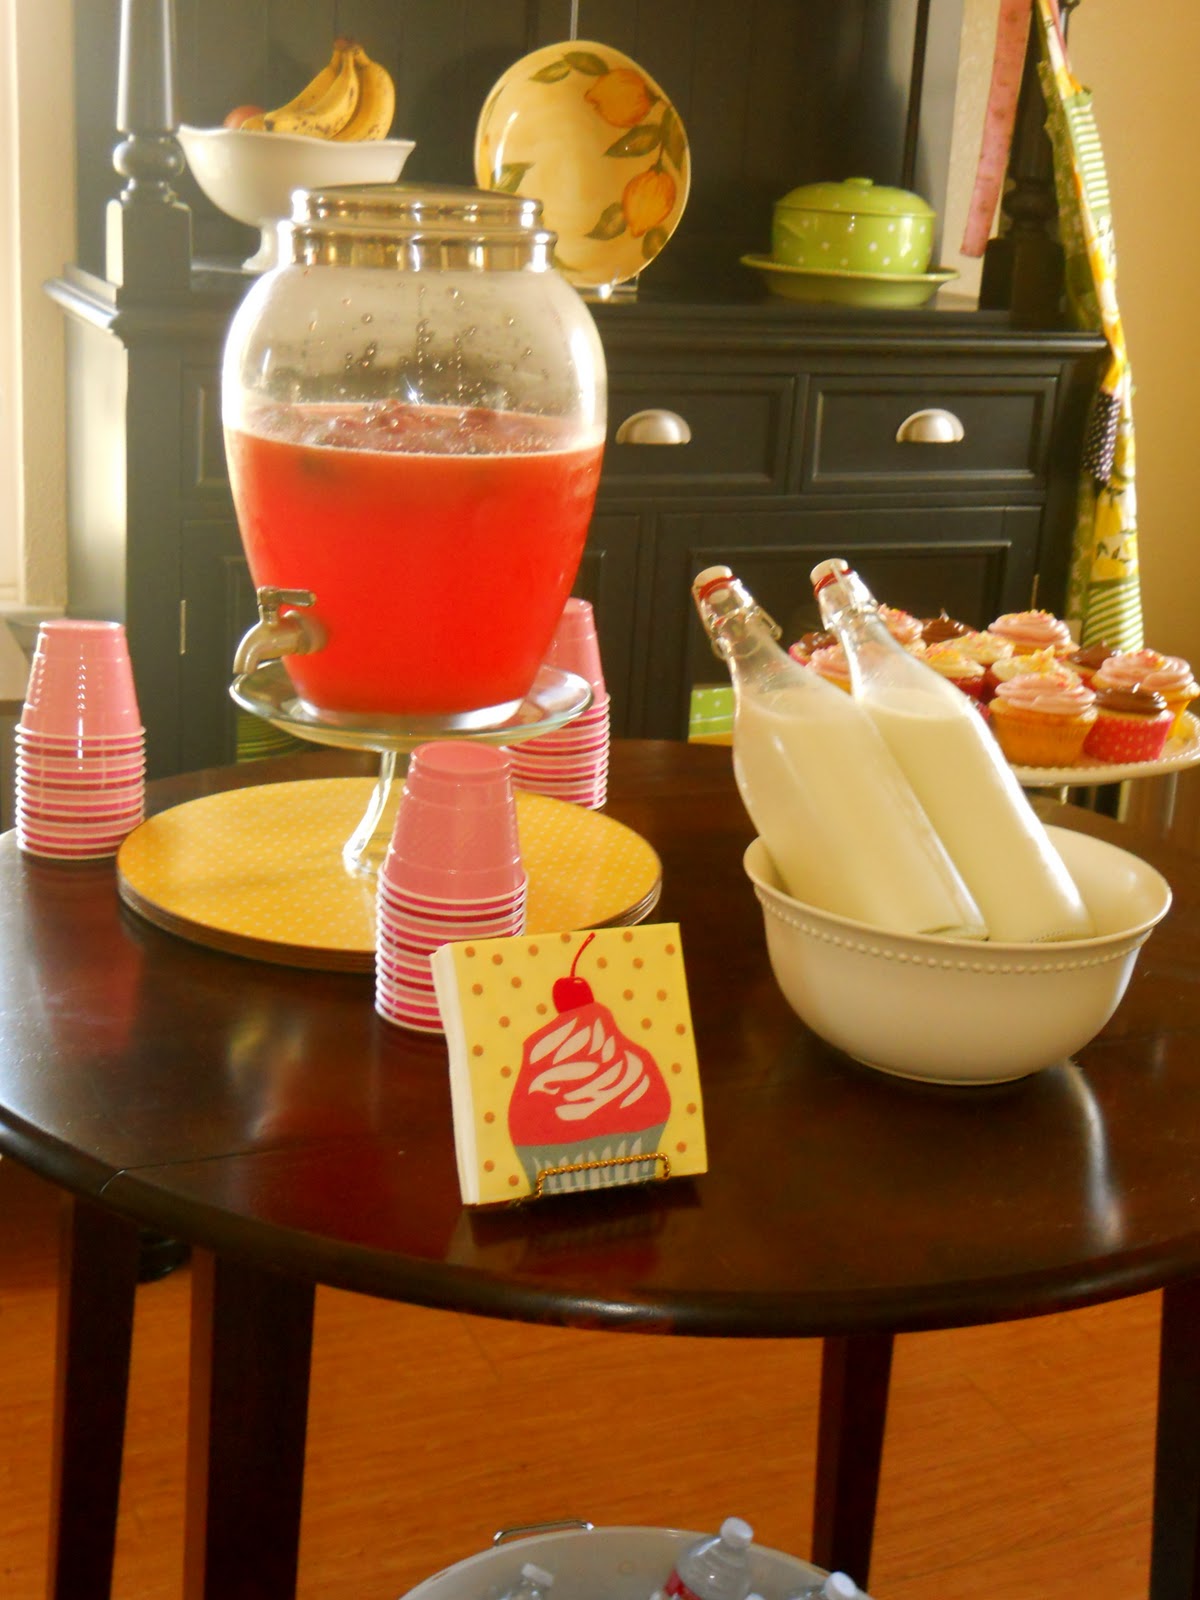
The Sprinkle


Cupcakes
Vanilla Ladybugs · Chocolate · Strawberry · Lemon
“Strawberry Lemonade” · “Chocolate Covered Strawberry”
Sweets & Treats
Peanut Butter Blossoms · Snickerdoodles · Petit Fours
Strawberries and “Goo” · Chocolate Covered Strawberries

The Diaper Cake: Okay so, this doesn’t technically come from my kitchen.  But, it does belong in the “cake” category so it’s earned a spot on my blog…

I’ve been to just a handful of Baby Showers, but enough to know that those diaper cakes are adorable and a must-have at every shower.  So, I hopped on the internet and started exploring the how-to of it all.


Baby Shower Diaper Cake
Yields (1) 5-Tier Cake

223 New Born Diapers
223 Small Rubber Bands
9 Large Rubber Bands
6 X-Large Rubber Bands
2-3 Yards of Decorative Ribbon
Scissors
Hot Glue Gun/Hot Glue

Roll each individual diaper, and wrap each with a small rubber band.

Start with (1) diaper as your center point – Build each tier by placing diapers around the center point to form a complete circle.  Secure each complete “row” of diapers by using a larger rubber band to hold the diapers in place.  Repeat this process until the desired tier size is reached.  Then, repeat for each tier.

Here is the breakdown of diapers, rows, and rubber bands (RB):

Tier 1:  (7) Diapers; (1) Row; (1) Large RB
Tier 2:  (18) Diapers; (2) Rows; (2) Large RB
Tier 3:  (38) Diapers; (3) Rows; (2) Large RB; (1) X-Large RB
Tier 4:  (62) Diapers; (4) Rows; (2) Large RB; (2) X-Large RB
Tier 5:  (98) Diapers; (5) Rows; (2) Large RB; (3) X-Large RB

When all tiers have been constructed, cut appropriate lengths of decorative ribbon—One tier at a time, wrap the ribbon around the circumference of each tier.  Cut.  Hot glue the edges together. 

Stack each tier, biggest to smallest.  Decorate, optional.

This made for a very large and very sturdy cake.  I was able to make it weeks in advance, and get to work with the menu.  It was great! 

*Crafty Tips/Finds:
  • Many “How-To’s” also recommended using tape or pins to stabilize the diapers, but rubber bands allow for the diapers to remain usable.

Tuesday, February 8, 2011

Avocado-Mango Salsa

As promised, here is the recipe for Avocado-Mango Salsa.

Avocado-Mango Salsa
1 Whole Avocado, chopped
1 Whole Mango, chopped
¼ Cup Fresh Pineapple, chopped (Not Canned)
¼ Cup Fresh Corn
1 Tbs. Fresh Cilantro
Pinch Chili Powder
Pinch Red Pepper Flakes, to taste
Pinch Kosher Salt
½ -1 Tbs. Hot Sauce (Such as Tapatio), to taste
Juice from half a Lime

In a serving bowl, combine all ingredients (minus the avocado).  Mix together.  Let cool in the refrigerator for at least two hours (will store well for up to two days).  *Add the avocado 30 minutes prior to serving, return to the refrigerator.

Tasty Tips/Finds:
  • I’m sure this recipe would be GREAT with some red onion, but being that I’m an onion hater myself- I opted not to include it.

Carnitas

Over the past several months I have been oogling and drooling over the countless recipes on Pioneer Woman's Tasty Kitchen website, adding numerous ‘to-try’ recipes into my recipe box- Never actually getting to the testing stage though.  Well, alas, I finally took one to the kitchen. 

The original recipe:  Carnitas by The Noshery

This recipe seemed simple enough, sounded de-lish (the reviews agreed), and incorporated the crockpot.  Seriously, I <3 my crockpot!  Simple and de-lish aren’t so bad themselves.  I knew I had to try this recipe!  Because my husband and I are a picky duo, I decided to change it up just a bit (click on the attached link if you’d like to reference the original recipe).
 
Carnitas
Serves 4

2 ½ - 3 Lbs. Pork Shoulder, cubed
1 Cup Fresh Orange Juice
Juice from half a Lime
1 Tbs. Fresh Lemon Juice
1 Tbs. Kosher Salt
½ Tbs. Cumin
¼ tsp. Chili Powder
Pinch Garlic Powder
Pinch Onion Powder
Pinch Red Pepper Flakes
¼ Cup Fresh Cilantro
¼ Cup Fresh Pineapple (Not Canned)
2 Tbs. Olive Oil
1 Corona

Add all ingredients (minus olive oil and Corona) in your crockpot, stir.  Arrange contents in a single layer.  Set crockpot on low for 3-4 hours, turn to high for last hour.

When done, shred pork using two forks.  Set aside.

In a large skillet, heat olive oil on medium-high heat.  Add shredded pork, constantly stirring.  When edges are slightly crispy (about 2-3 minutes), reduce to medium-low heat.  Add ¼ cup Corona to meat, allowing the liquid to evaporate each time.  Repeat 2-3 times.

Serve on warm tortillas with your choice of toppings.

*I made an Avocado-Mango Salsa to go with this, and it was the perfect topping!  Recipe to follow.

Tasty Tips/Finds:
  • Crockpot timing will vary depending on size of cubed meat.  I cut mine in about 2” cubes.
  • Omit the Pineapple if you do not have fresh Pineapple.